Someone on WAU asked how I did the bases for my dwarves. I gave him a quick summary, but I thought I'd turn it into a proper tutorial, since it's quite straightforward but looks, I think, rather good. I'm sure someone else out there already does something similar, but I've honestly never seen anyone use this technique before, so here's Magos' Patented Wood to Stone Transubstantiation Method...
This tutorial will go through the process of creating simple flagstone bases like I'm using for my WFB dwarf army. These bases would also be perfect for RPG models, or for use in a dungeon terrain piece. Best of all, they're dirt cheap and very easy to make!
To start with, you'll need an MDF base. Mine are 20mm square, but you could use smaller or larger, or attach them to GW plastic bases if you wanted. There are plenty of places that sell laser cut MDF bases. Mine come from Back 2 Base-ix and, bought in bulk, only cost 13c each, which is ridiculously cheap.
Here's our

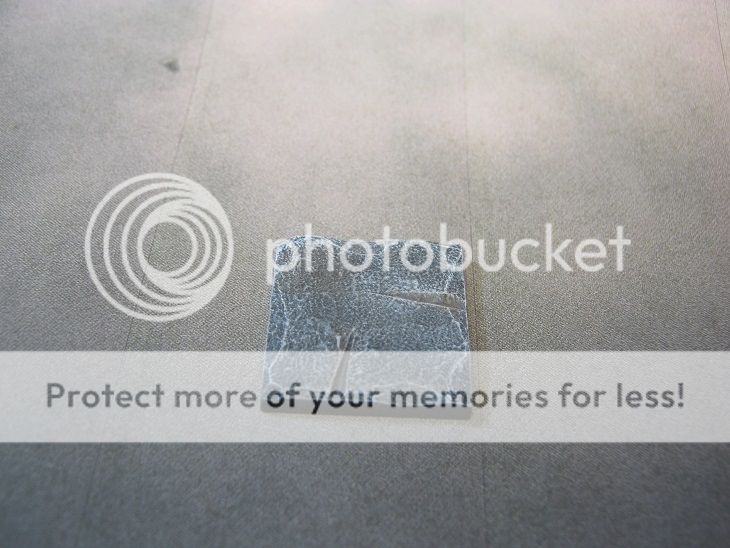
Now, this is fine if you want perfectly neat, squared off stone block. Concrete, perhaps? But for dungeons, I think something rough-hewn looks better. Using a hobby knife, simply slice away little bits of the edges and corners. The MDF cuts very easily, so this isn't too hard or dangerous (obviously be careful when using sharp knives though). If you want to carve runes or designs into the base, do so now.

Your base is now looking a little more weathered, and if you painted it like this, you'd get an ok result. But real stone need some texture to make it look realistic. The solution is remarkably easy, and turned out better than I expected when I came up with the idea - Liquid Greenstuff. This is one of GW's technical paints, ostensibly for filling gaps. I'm not a big fan of it for that, but I do love it for texturing bases. I previously used it on my Tohaa bases. All you have to do is paint a heavy layer all over the base, then stipple it to with a crappy old brush to roughen the texture. The result gives you a really nice, subtle stone-like texture.

Prime the base (I use Vallejo german panzer primer, black would be fine too).

Now the magic starts. I'm painting traditional grey stone, but different colours could be used to create sandstone, concrete, etc.
Using an old brush, lightly drybrush the base with P3 Greatcoat Grey. Concentrate on the edges in particular.

Repeat the process with VGC Stonewall Grey.

Finally, finish the base with a light drybrush of VGC Wolf Grey. You can leave it light that, or add finishing touches to taste. I've used a small amount of brown pigment to create dirt, but bloodstains, moss or puddles would all be easy.
Bam. Done. Easy.
The whole process, including drying times, wasn't much more than half an hour. If you work on twenty or so at once, it's a real fast process.
Hopefully you've enjoyed the tutorial. Feel free to leave feedback or advice, and I'd love to see any pictures of bases created with this technique!
Thanks for reading,
~Alex/Magos
Love the tutorial, i hope you post some more. Now to rebase my entire army...
ReplyDeleteThanks Greg, glad you liked it. I hope to produce a few more reviews and tutorials in the future.
ReplyDelete